29 Aug 2024 12.00 AM I 331 Views
What are the recommended dimensions for product images ?
- This Article is for stores running on Solo plan or higher
Commmerce allows you to upload product images of any dimension. If an image doesn't align properly or appear as expected, you can adjust it using the
'Image Fit & Size' option.
Step 1. Log in to your Commmerce’s Admin Panel by entering the
Registered mail ID and
Password. To log in,
click here
Step 2. There are two options for changing the image dimensions of products on your website.
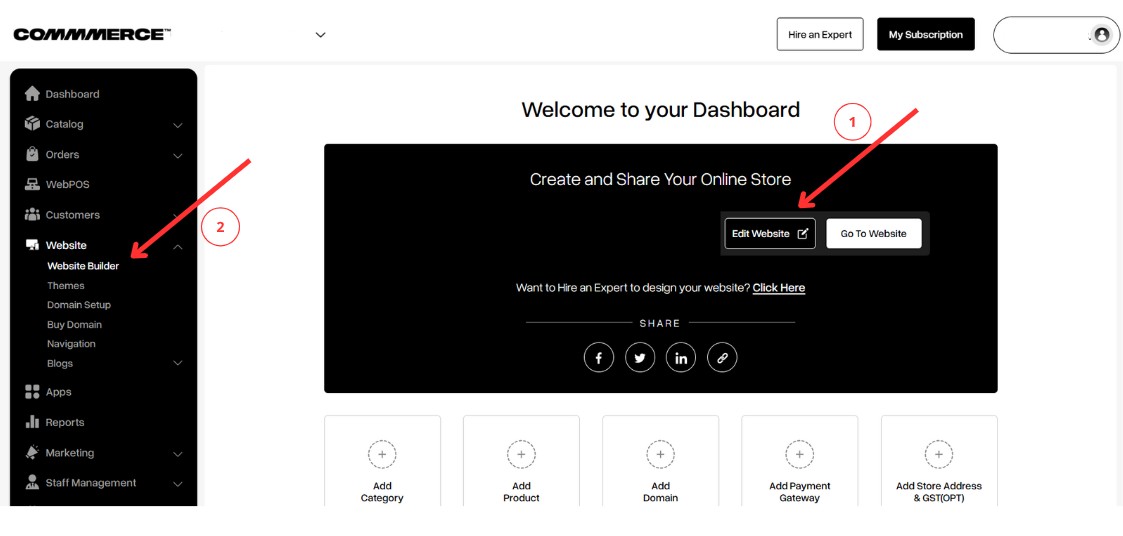
Option 1- Click on 'Edit Website' on the dashboard (as shown in “1”).
Option 2- Click on the Website option on the left side, then select Website Builder (as shown in “2”).
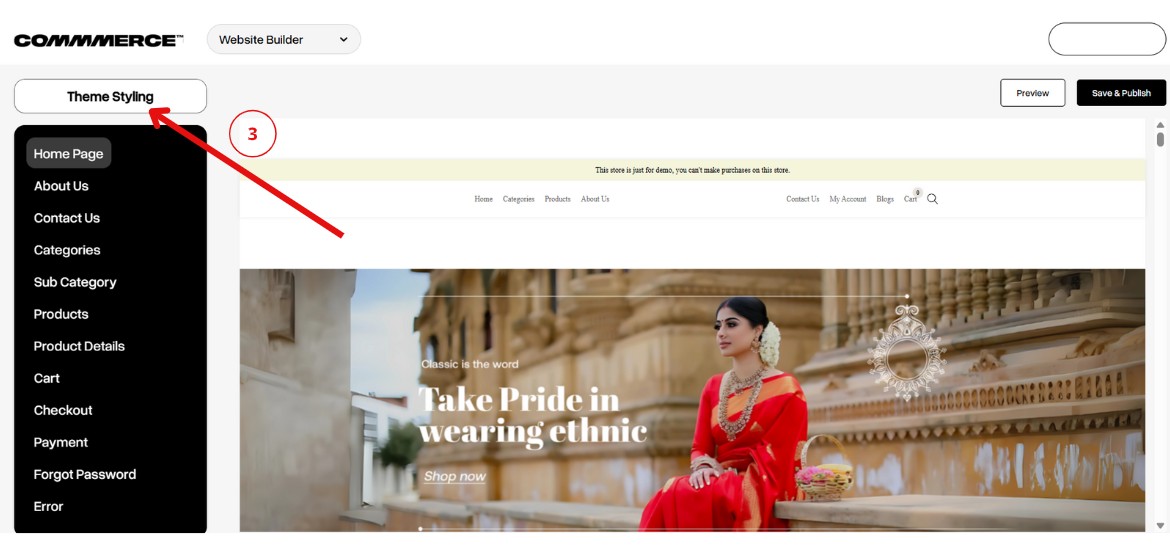
Step 3. On the Website Builder page, click on the 'Theme Styling' option (as shown in “3”).
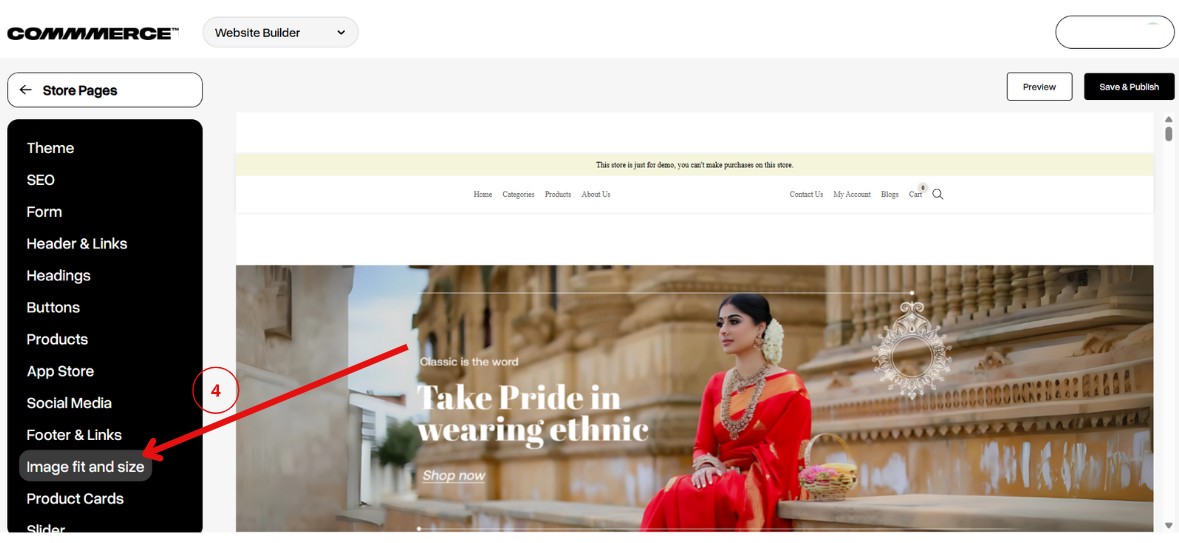
Step 4. After clicking the 'Theme Styling' button, select the 'Image Fit and Size' option (as shown in “4”).
Step 5. In the
Image Fit and Size settings, you can customize the image sizes for your
Banner,
Product, and
Content Sections.
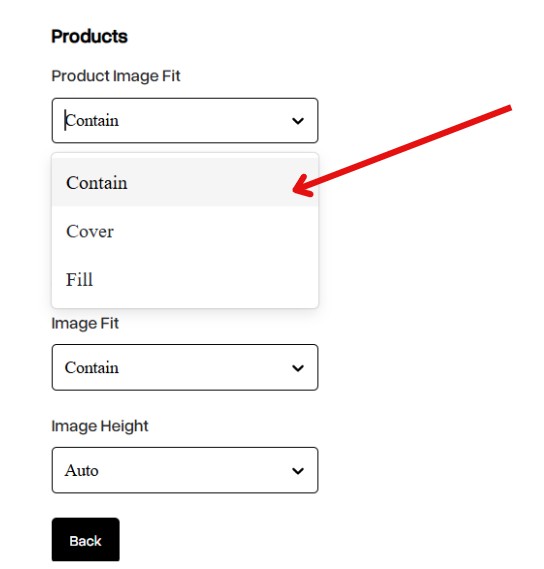
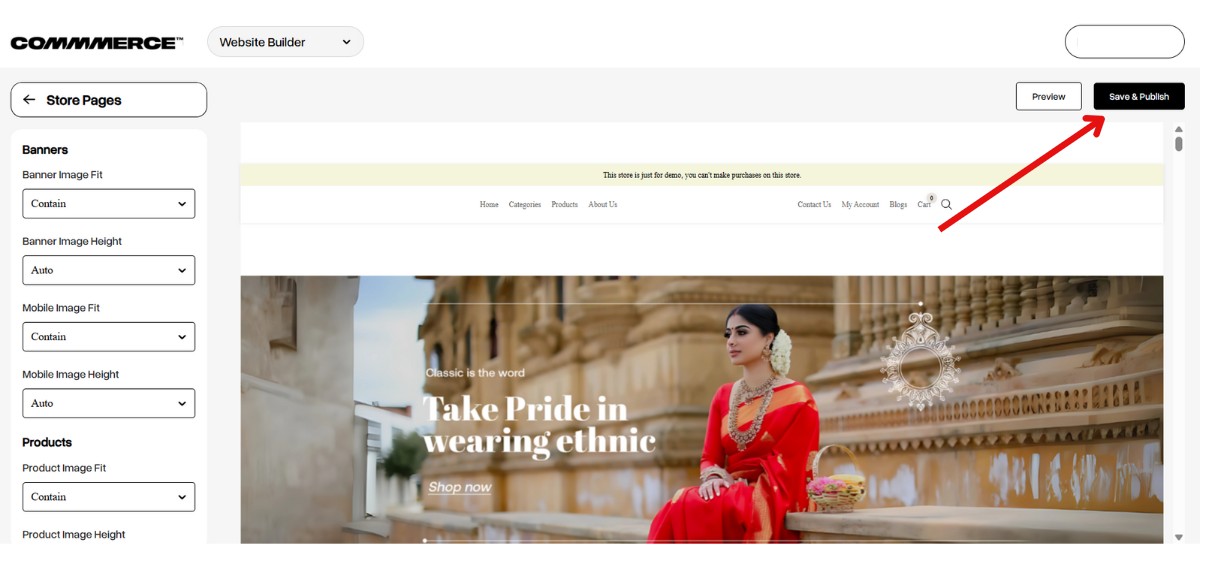
To adjust product image settings, go to the
Product section. By default, the
Product Image Fit is set to
Contain, but you can change it to
Cover or
Fill based on your layout needs.
Here’s what each option means:
Displays the entire product image within the container without cropping.
Space may appear around the image.
Best when you want the full image to be visible.
Fills the entire container area, maintaining aspect ratio.
Parts of the image may be cropped.
Ideal for a consistent and polished look.
Stretches the image to fill the container.
This may distort the image proportions.
Use only when exact fit is more important than image accuracy.
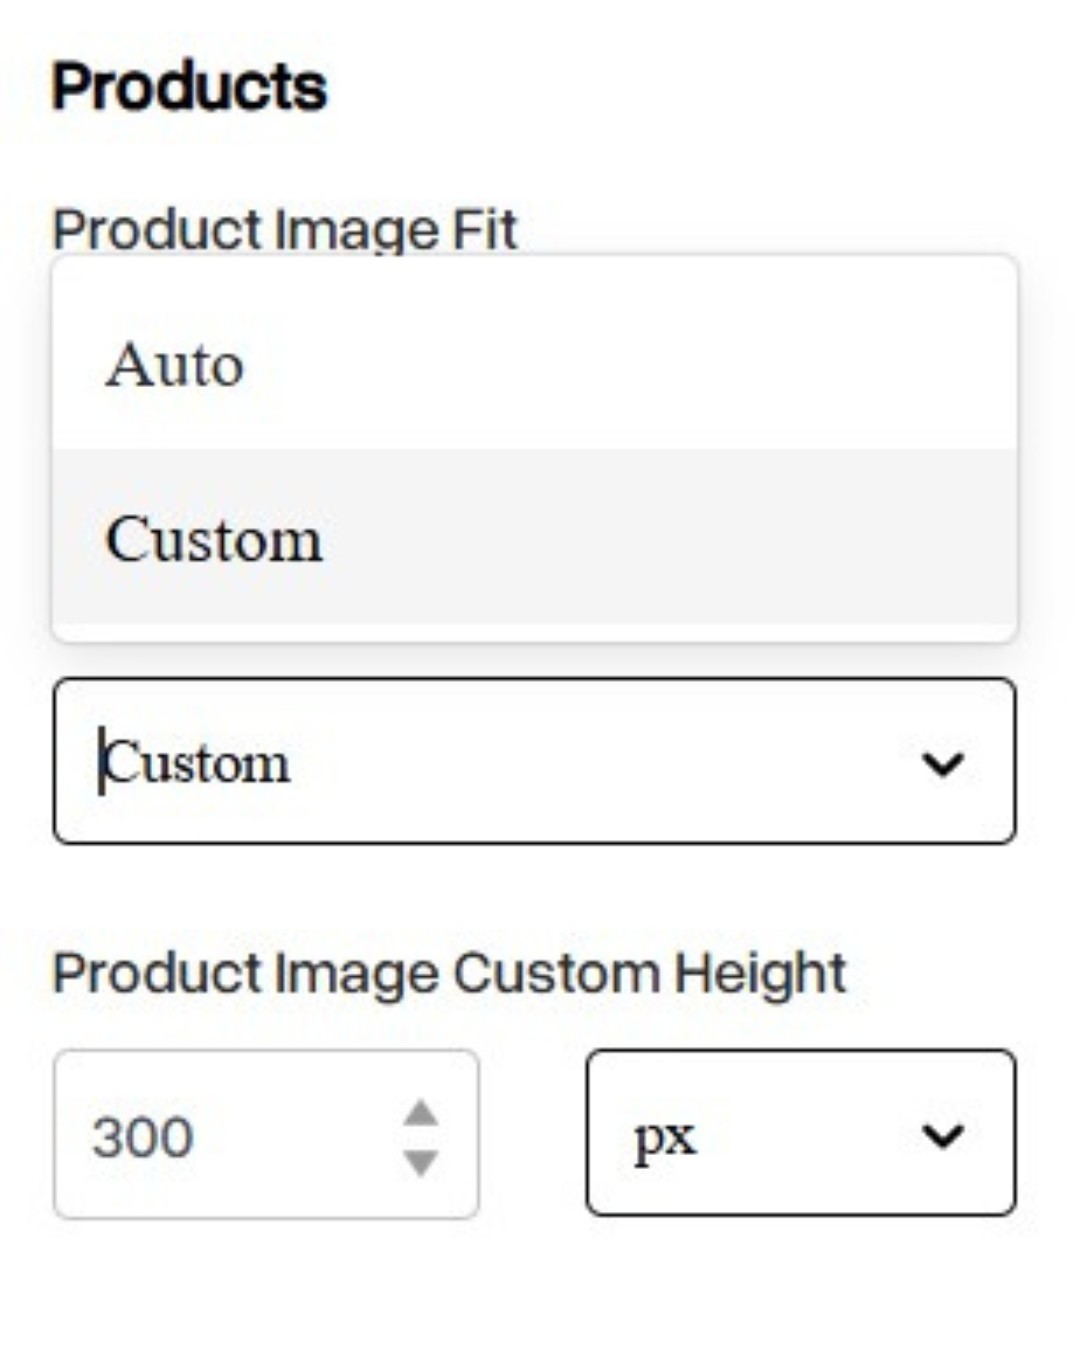
Step 6. If you set the Product Image Height to 'Auto', the image will automatically adjust to fit within the available space. It maintains the aspect ratio and displays the image based on its original size.
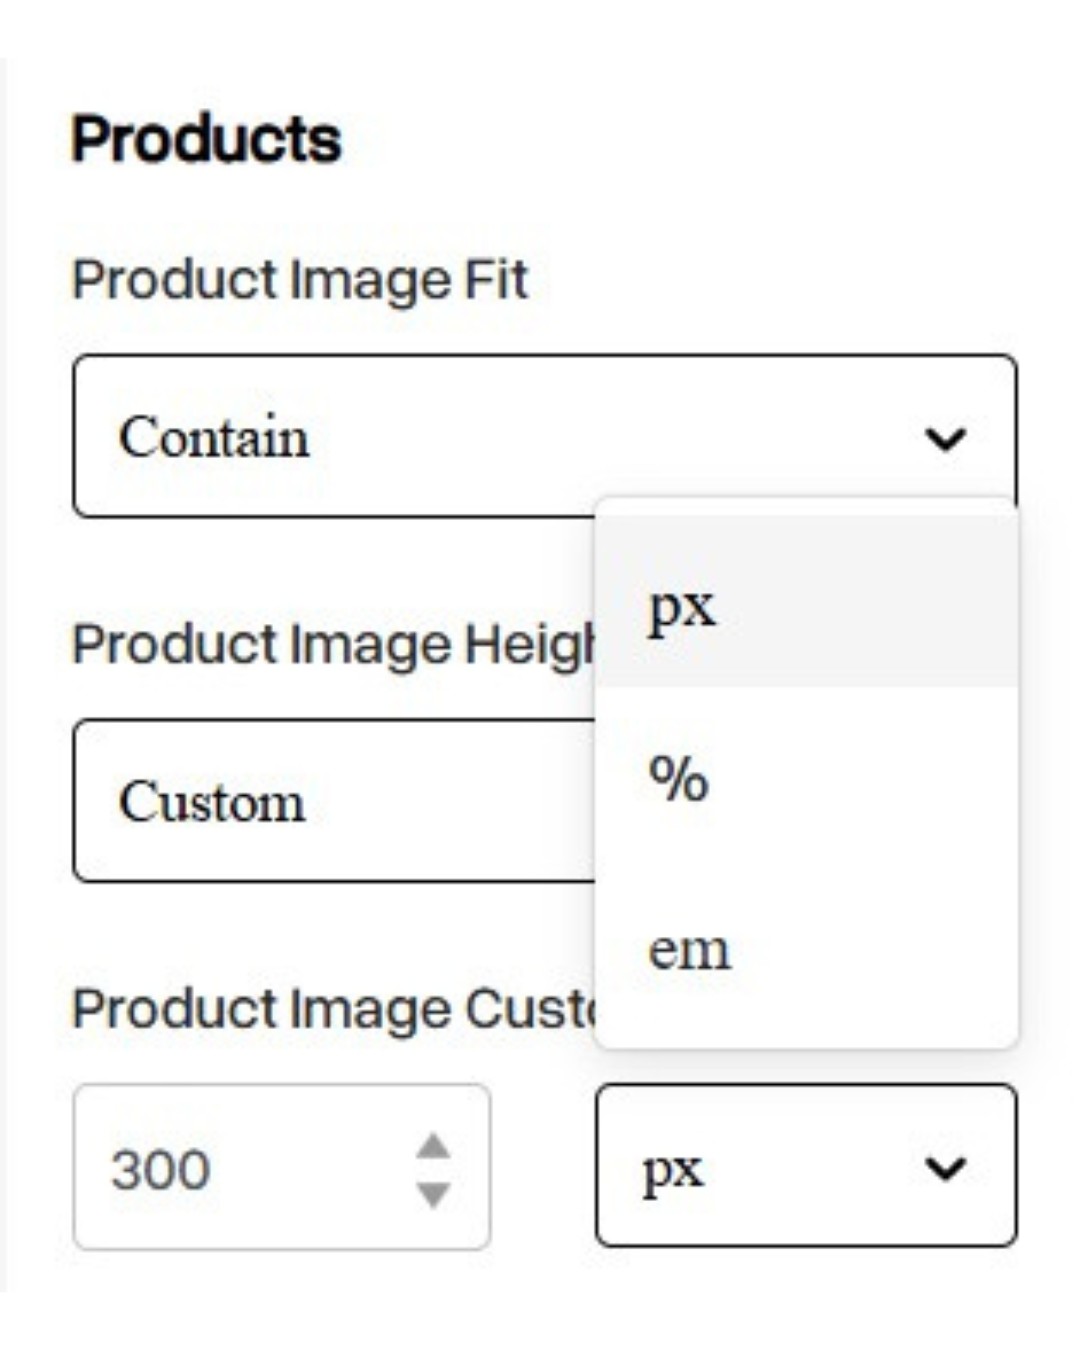
If you set the Product Image Height to 'Custom', it allows you to manually define the image dimensions using units such as pixels (px), percentage (%), or em. This gives you flexibility in controlling how your product images are displayed.
Step 7. Once you have updated all the necessary details, click the 'Save and Publish' button located in the top right corner.